

Wednesday 16 June 2010
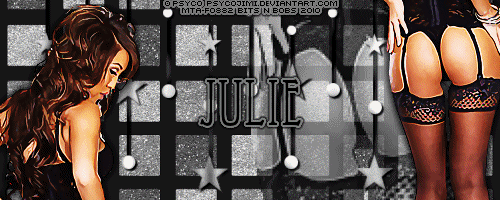
Waiting for you
Tutorial written by and © to Bits N Bobs 16th June 2010.
Results are for personal use only.
No monetry gain allowed and that includes placing them behind a paid or donation based membership area.
You are not allowed to share/forward or translate any of my tutorials or place them on any blog, website, DVD or anywhere else without my permission.
These tutorials are written from my own ideas and any similarities to any other tutorial is purely coincidental.
All tutorials are for those with a working knowledge of paintshop pro.
I reserve the right to amend these terms at any time.
Supplies needed.
Font of choice for your name.
I am using Essentric std
Tube of choice.
I am using Waiting for you free tube by Psyco Jimi
Tube is not to be used without an MTA license
Elegant New Year kit available here by C.C.Creationz
I have only used the following items from the above kit.
Paper 1, Star curtain,
Plugin hsb noise - Eyecandy 4000
Note
This tutorial was written in PSP 9 and needs animation shop for the animation.
Open all supplies in paintshop except the font.
Double click on your font and minimize.
Open a new image, 500 w x 200 h at 72 dpi.
1.Re-size the paper to 500 pixels wide,
copy, paste as a new layer on your working image.
Layers merge, merge visible.
Re-name this layer to bg.
2.Re-size Star curtain to 500 pixels wide,
copy, paste as a new layer add a drop shadow of your choosing.
Duplicate this layer twice so you have 3 layers of star curtains.
Re-name the bottom star layer to star 1, middle layer to star 2 and top layer to star 3
Activate the bottom star 1 layer.
Effects/ Eye candy 4000/ HSB noise, Settings are in the screenshot below.
Repeat with star 2 layer but hit the random seed button once and then click ok.
Repeat with star 3 layer, hit the random seed button once again and then click ok.

3.Activate your tube, press Shift + D.
On the first tube re-size to 1200 pixels high,
copy, paste as a new layer onto your working image.
Re-name layer to tube 1.
Move this layer to above the bg but below the star 1 layer.
Position to your liking.
Mine is on the right hand side showing her butt.
Adjust the layer blend mode to Luminance.
Lower the layer opacity to 65%
4.Activate star layer 3, copy your original tube,
paste as a new layer, re-name layer to tube 2.
Add a drop shadow of choice and position to your liking.
I have mine right over on the right hand side showing her butt and legs.
Duplicate this layer and position over on the left hand side with her face showing.
Re-name this layer to tube 3.
5.Layers/ new raster layer, name it copyright.
Add all your copyright info.
*** Note:
Save now or continue for the animation steps
*** End note:
6.Close layers star 2 and star 3,
Activate star 1 layer, layers/ merge/ merge visible and copy.
Open up Animation shop and paste as a new animtion.
Go back to Paintshop, undo, close layer star 1.
Open and activate layer star 2, layers/ merge/ merge visible and copy.
Go back to Animation shop and paste after current frame.
Go back to Paintshop, undo, close layer star 2.
Open and activate layer star 3, layers/ merge/ merge visible and copy.
Go back to Animation shop and paste after current frame.
7.Create your name in paintshop as normal, copy the file and paste as a new animation into animation shop.
Copy the name in animation shop, activate your animation, edit/ select all, edit/ paste into selected frame and then file/save as.
Subscribe to:
Post Comments
(Atom)
Stores


BNB Blinkie


0 comments:
Post a Comment